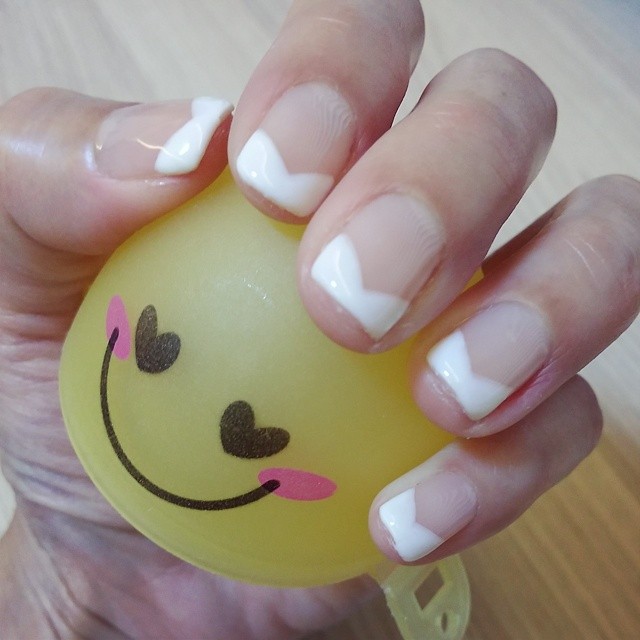
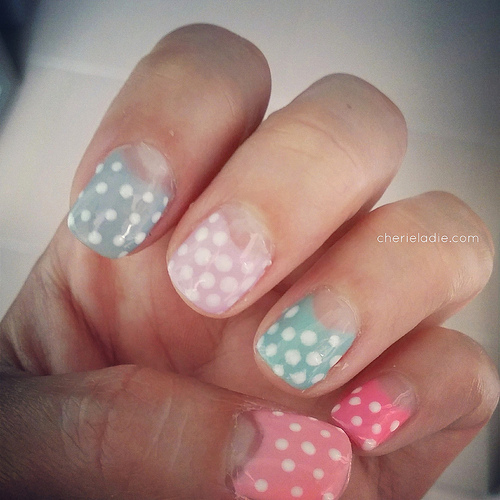
Cracked French manicure.
Changed out my manicure just moments ago because it was starting to chip and I had an event this evening.
The last time I posted the duo-colored nail tips, I had people requesting that I do a tutorial. Actually wanted to do a video tutorial today but I really had no spare hands and no one to help me.. So I’ll do a step-by-step pictorial tutorial today on my nails.
I tried out a cracked nail polish that was gifted to me 2 Christmas ago by a colleague. I kept forgetting about it so today I finally tried it out for the first time! Helps that it was also purple and because I just wanted to change my manicure and not my pedicure and it’s great that it still matches my feet.
Took me 40 mins to do it, from removing the previous polish, and taking photos in the midst of it.
First coat – I used the pro-fx mineral botanical strengthener as the base coat. I haven’t gotten round to replacing my bottle of seche vite base coat after my mum broke it the other day.
This is fast becoming my favorite nail color – orly Orlon (064) because it’s so sheer and natural and it makes my nail bed look gorgeous. It looks perfect on its own, but I always love a hint of bold colors to spice up my life.
I usually paint my left hand first (using my right hand) and then the right (using my left). I’m right-handed so the first step is always a lot faster. I have had many people asking me how I paint my right hand with my left without making mistakes and result in relatively nice manicure. I am just gonna share how I usually do it and hopefully, it can be tips to help you along when you do yours. And of cos, the main thing that you need to do is.. Keep practicing. After all, it takes practice to hone your skills and the same theory applies to everything we do, like driving, playing a ball game etc.
I am just gonna try and explain and hopefully, be able to bring it across. I would rest my right finger along the edge of the table so that it doesnt ‘move’ unnecessary. I hold the brush with my left hand, and just do quick vertical strokes down my nail bed in the same position, starting with the right of the nail bed.. while my finger (the one being painted on) slowly turns towards the right so that the brush (still staying in the same position) paints another portion of the nail bed and finishes on the left of the nail bed. Because the left hand is not very stable, I don’t move it as much to prevent the polish from being messy. Instead, I use my right hand (which is more deft since in right-handed) to move under the brush so the brush catches the nail bed in all the correct areas. Man, am I confusing you? I hope this helps!
Painting the pink tips. I used color club poptastic (an01). I didn’t cut my nails or trim it because you would require a bigger area for the cracked tips to show. The usual French tip is too thin to even see the design so you can be bold and create a fatter tip. If you look closely, my tips aren’t even straight. I don’t bother to make them to be because it’s too time consuming and don’t be afraid of making mistakes.. As long as you are not on your last coat., there’s always ways to rectify!
Painting the ‘cracked layer’.. You got to be real fast because they’ll start cracking in 3 secs..
Done! The thing about these cracking polishes is that the base are usually important and it’s good to use the same brand of polish under. I didn’t, obviously because the pairing polish was silver and I wanted a more dramatic effect with the shocking pink. It kinda “eat” up my pink polish underneath, though barely obvious as it feels/looks like its part of the effect. The cracking polish also has a matte feel to it which I didn’t quite fancy.
I proceed to glam up my nails with some glitter polish. Just dab the glitter along the lines of the French tip, hiding the imperfections and giving it a glitzy finish. I am using OPI spark de triomphe here. Any glitter would do the trick, you could even stick diamantes if you want! Just be creative.
And.. Put on the top coat and we are done! Seche vite is my favorite. It’s smoothens out everything and make the polish look pretty!
Hope my virgin attempt at doing this step-by-step tutorial helps! Ask away if you have questions and I’ll be glad to help!
//
Meanwhile, on a few occasions where I attend weddings or functions, i have friends telling me that their friends recognize me because they are readers of this blog.. I think they are all silent/stealth readers because other than my friends, I have no clue who reads my daily occasional ramblings. I just wanna say a big HI! to these people. Thank you for reading and next time.. Come up to me and say hi! Dont be shy yeah? We can be friends and I promise i won’t eat you up (even though I am quite a big eater and might eat up your share of food)..
Have a good weekend!
Posted via LiveJournal app for iPhone.


3 Comments
jzlyn
Quick qn: are you not afraid that the nail polish is going to accidentally get eaten by jerry?
cherieladieblogs
Nope. I don’t put my finger into his mouth other than cleaning his teeth but I have a cloth to cover up so it’s unlikely.. I’m more worried about him exhaling the fumes but I would do my manicure in a separate room that he is in to prevent that.
Anonymous
When P became too mobile for (our) comfort, we placed 2 cot protectors around his cot. TWO LAYERS to cushion his falls & bumps. Try this method?